So I am here today showing you a little DIY I have done and that I said I would blog about, and it's studding a pair of shorts that I haven't cut from jeans but I just brought these ones as they are for this DIY. So I will start by showing you step by step. Hope you enjoy!
Step 1 - Gather you materials and equipment


Step 2 - Think about where you want your studs to go


So once you have all your equipment together you'll need to have a little think about where you actually want to put your studs. I choose to put mine in one of the pockets but you can be as creative as you want to be.
Step 3 - MAKE SURE YOU HAVE ENOUGH STUDS!

Ok, so you may have all your studs but you have to make sure you have the right amount before you start studding. You should be able to remove them once you have placed them but it saves you time wasting. So make sure you just count to see you have enough.
Step 4 - Start studding


So, just to start off they aren't my hands, my mum decided to punch the first few studs through, as I hadn't a clue what to do, even though I don't think its too difficult. So pretty straight forward, once you know where your studding, you just start putting the stud 'claws' through the material and then bending them down, so they are secure and that when you wear them your leg isn't at danger with them.
Step 5 - Just keep going


Ok, so at this point I had finished my first line of studding and ready to go to the next, so I haven't got much to say at this point except keeping going!
Step 6 - Your all finished!
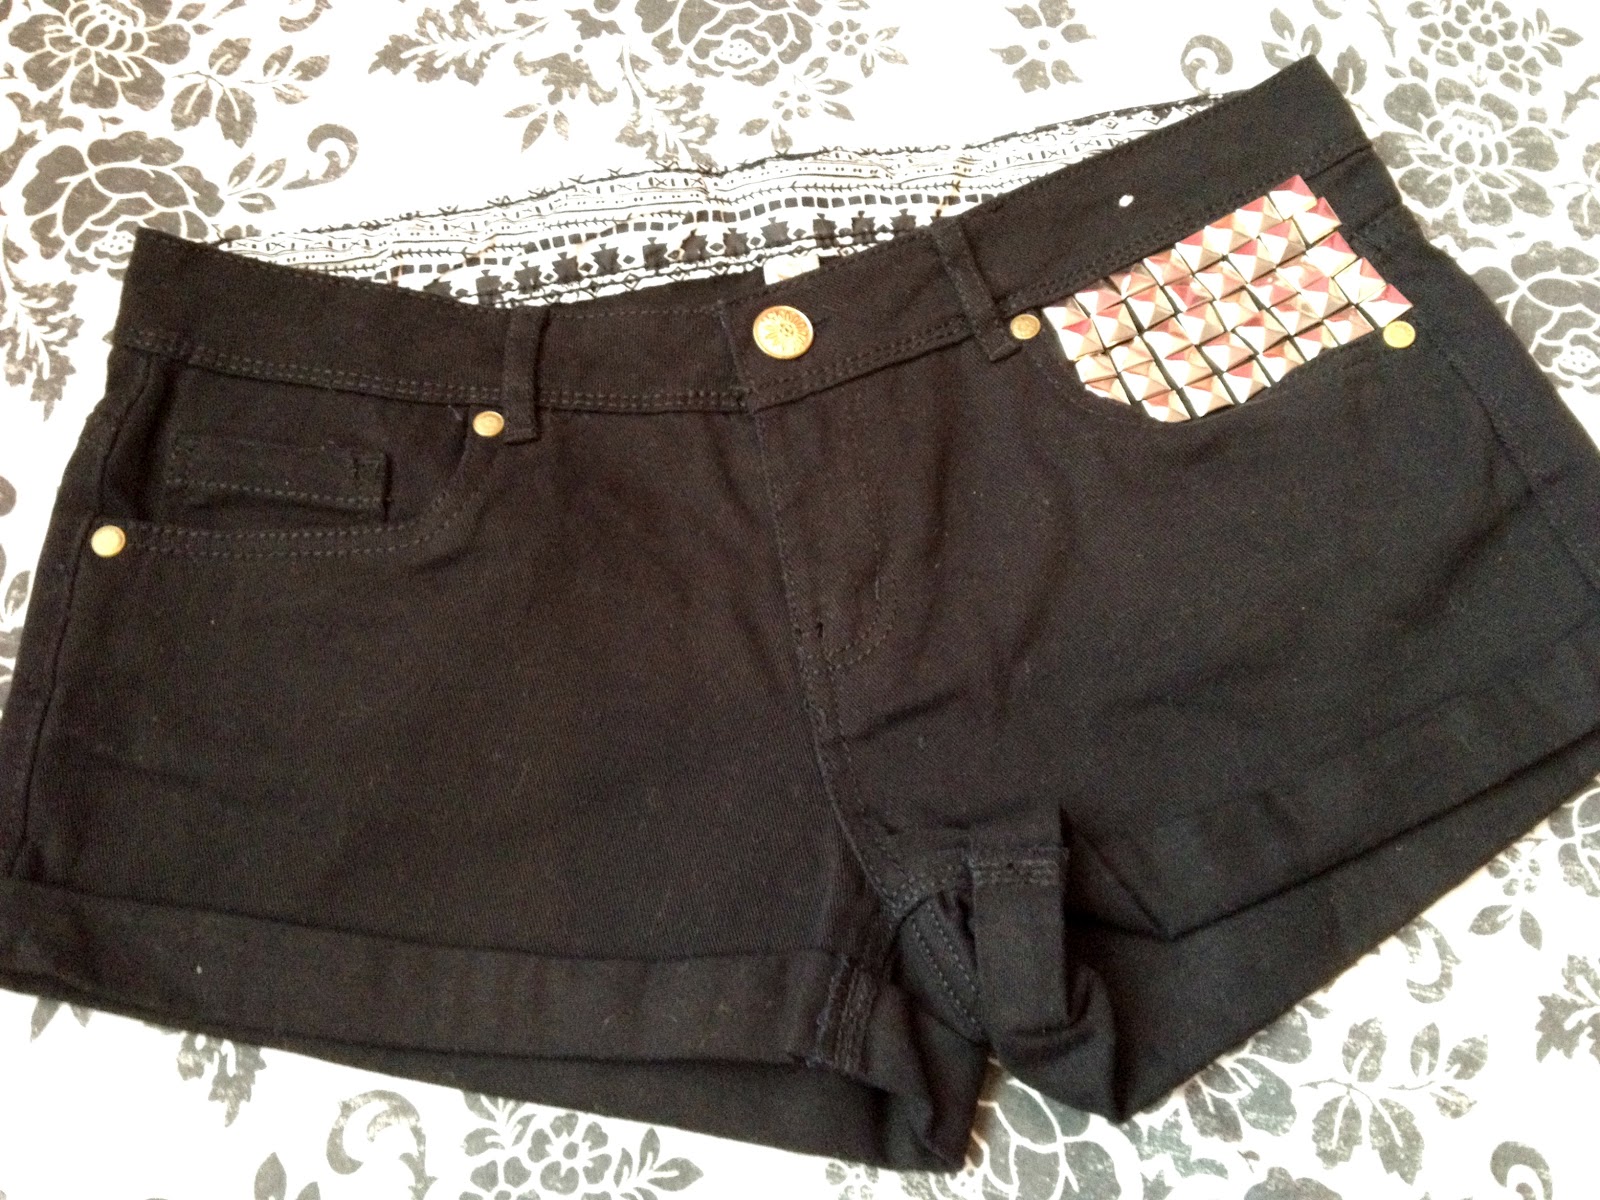

Right, I haven't got much else to say except that your done and you've now got your own pair of studded shorts and you did it all buy your selves!
I will hopefully be back soon with more DIY's an suggestions?
Jordane x
No comments:
Post a Comment